|
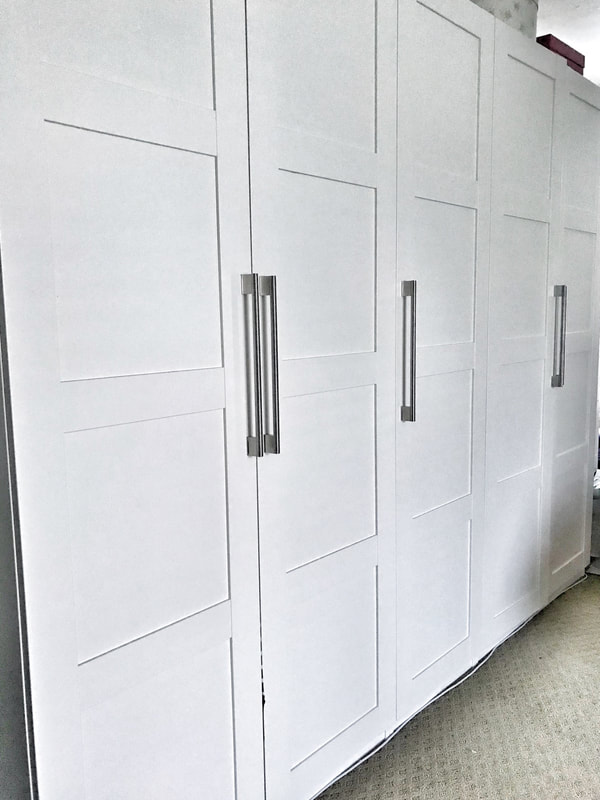
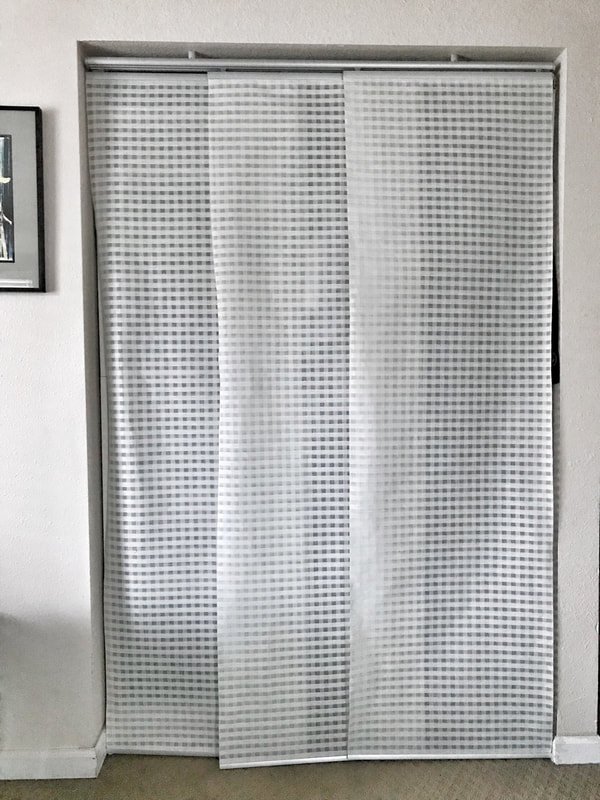
Now for the 2nd stage of our interior renovation. Since the main areas were now aesthetically pleasing - especially to our guests - it was time to update and refresh our personal spaces to match the public spaces in our home. Master Bedroom BEFORE: 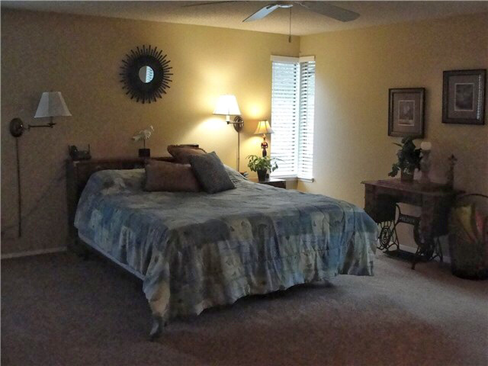 Master Bedroom AFTER Our bedroom was boring for lack of a better word. It was a weird layout and had small corner windows that I fixed with curtains to give it the illusion that they were bigger than they were. If we had the budget, I would've closed it off or installed a bigger window. There were a couple small closets - separated, might I add. We kept one but the other was completely knocked down to add more space to the tiny master bathroom. For the closet we kept, we removed the old doors and temporarily put IKEA panels in place of them. We will eventually replace with actual closet doors.  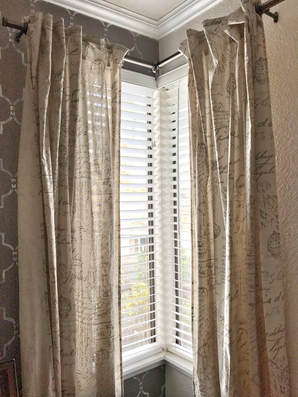
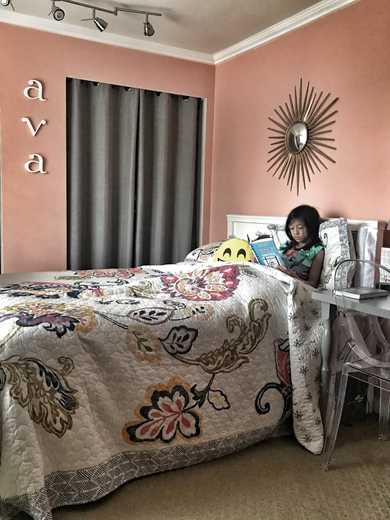
We re-did most of the room ourselves but had some help from my dad with the trim (base trim and crown moulding) - he was visiting from the Philippines and wanted to make himself useful. I did the wall stencil myself using the Marrakech Trellis Wall Stencil template from www.cuttingedgestencils.com Carpeting and light fixtures were replaced and we added a closet system from IKEA (for me) to add to the existing (small) closet, that my husband occupied. Wall lamps: Pottery Barn (no longer available but you can find similar pieces). Curtains: Pier 1 Imports. Bed frame is from the flash sale site, Joss & Main. Bedding is from West Elm. Euro pillow covers from IKEA. Bedside tables are from the warehouse wholesaler, Sanseco. Carpeting purchased from Great Floors in Kent, WA www.greatfloors.com/ KIDS’ Rooms The kids' rooms stayed the same layouts. We replaced the carpet, changed the wall paint, replaced the old lighting fixtures, removed the popcorn ceilings, added new trim, replaced the bedroom doors, and removed the closet doors (these will also be replaced eventually and are temporarily outfitted with IKEA sliding panels or curtains). We don't have BEFORE photos because each room is exactly the same layout. They all had beige, nylon frieze carpet and old, accordion-type closet doors. When it came to decor, we furnished their rooms with IKEA pieces and bought bedding and curtains from Overstock, Bed Bath Beyond, and Wayfair. We allowed the kids to decorate so that they could add a bit of their personality to their rooms - Christian added Xmas lights, Ava used toys as little tchotchkes, and Ashton put up his school artwork and video game posters throughout... Ava's Room This room is the biggest out of the 3 extra rooms and, naturally, this went to Ava because she had the most stuff - clothes, toys, books, art supplies, and accessories. We decided on light and girly but NO pink. Not only is it young and feminine but she could grow into the colors, as well. We settled with a peach color for her wall, which, she helped paint and gave it a garden-like vibe.
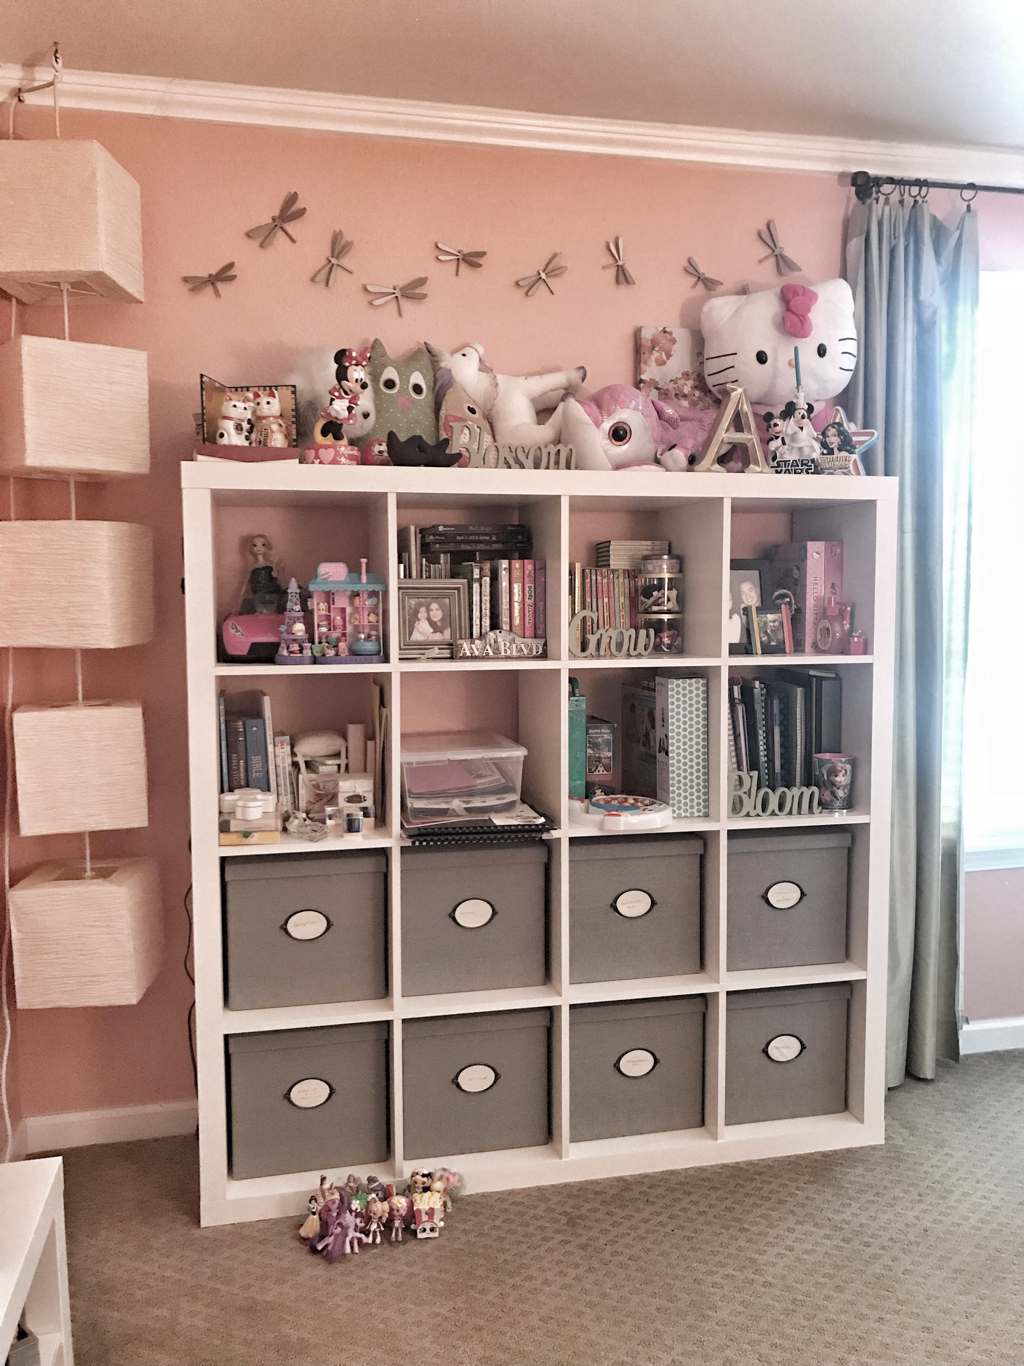
Ava's bed is actually a convertible crib and was meant to grow with her. The bookcase from IKEA is used to house her books, games, stuffed animals and artwork (I know, it looks cluttered, and I'm working on getting her to purge a bunch of her things). 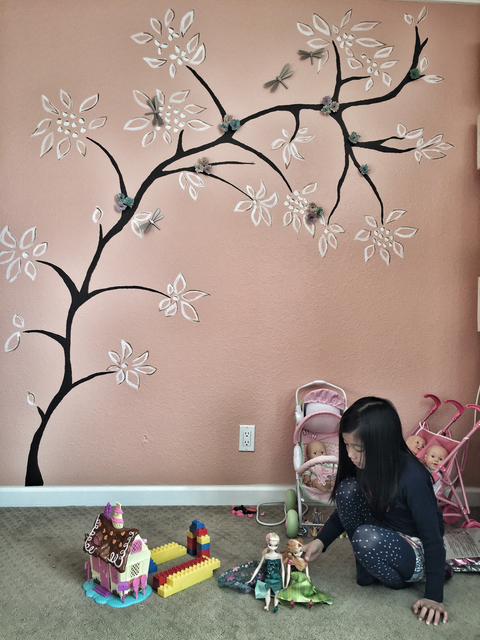 The tree mural in Ava's room was painted by yours truly. Initially, I was going to commission my friend to paint a mural because she's awesome at drawing but I wanted to give it a go to see if I could actually do it (plus money was tight). I took a photo of a tree I liked on Pinterest and free-handed it using sample paints from Home Depot. I also added the dragonflies (from Target) and 3D flowers (made them myself using a paper cutter from Joann Fabrics). I must give myself props...not too shabby! Christian's Room The smallest room went to our eldest son. Believe it or not, it's the room he chose. It's right off the master bedroom and, if it were possible, could be converted into a nice, walk-in closet...maybe when he goes off to college?! Well, it's definitely still open for debate. 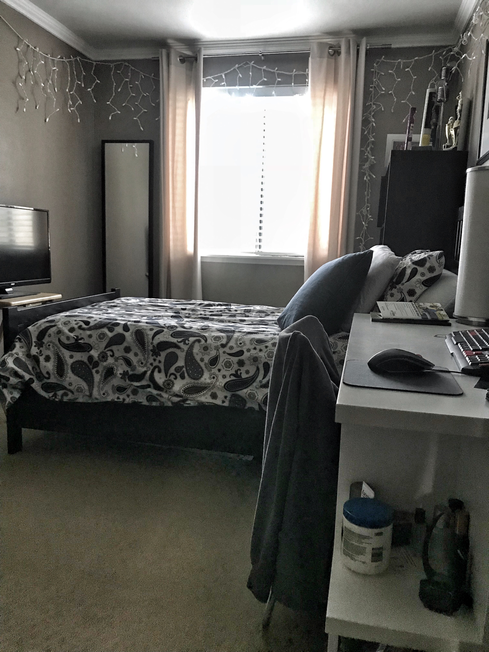 Ashton's Room His room was the only one left so he really had no choice. Luckily, he didn't mind too much (aside from one creepy thing about it) - he just didn't want to share a room with his older brother any more. Anyway, the other two kids didn't want that room because there's access to the attic through his closet and they were freaked out by it. After re-doing his room, Ashton ended up loving it and didn't think twice about the creepy attic. 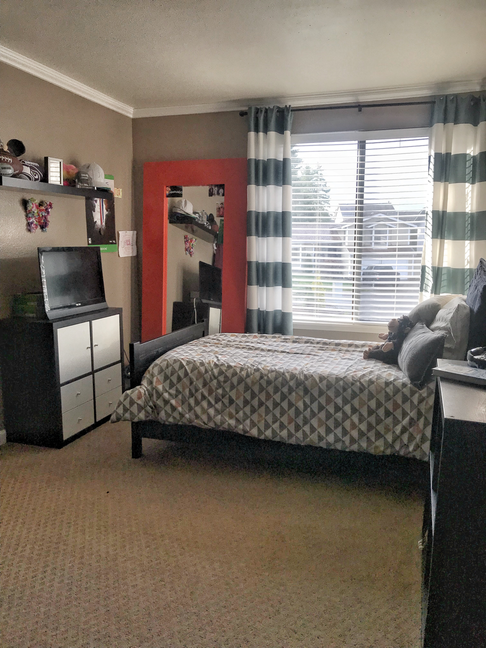 Master Bath BEFORE Contractor: Vu Construction It took me about 2 mos before I started taking a shower in our master bath. I was grossed out by its old fixtures and moldy-looking corners. The whole room was super tiny and I felt like I couldn't move around in it. Plus the green laminate counter-top, smelly cabinets, and poor lighting didn't make things any better. Now this may be TMI but I didn't really sit on the toilet seat (I just, kind of, hovered over it because I didn't want my skin to come into contact with it). It was chipping on the edges and appeared to be the original toilet to the house...  Demo of the original MASTER Bathroom We built right into the master bedroom, where, part of the old closet was to expand the master bath... 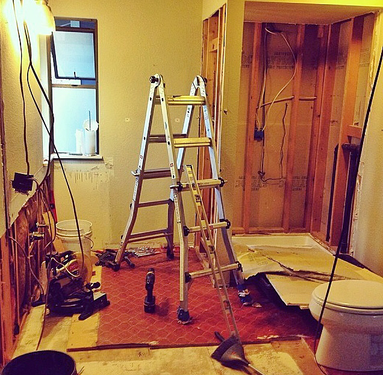 Master Bath AFTER 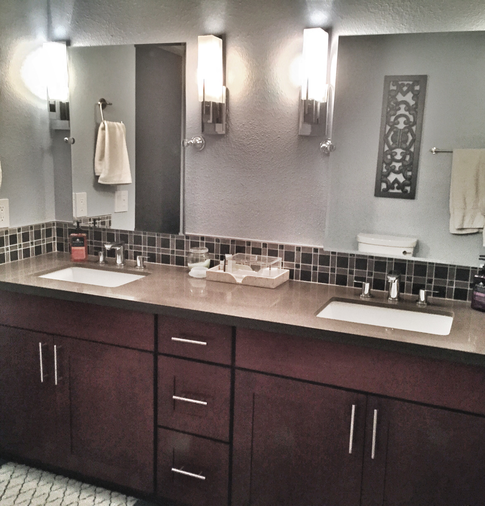 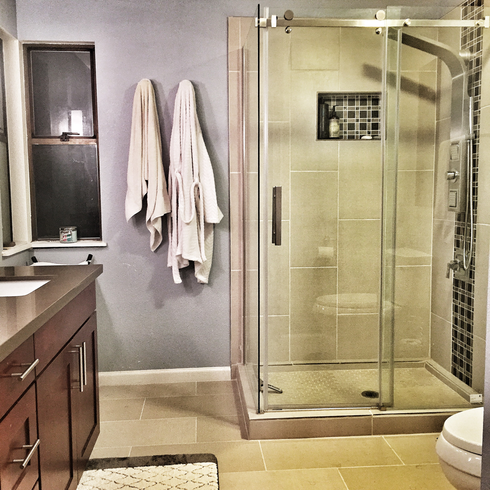 Now, there are some things I wanted to do...like remove the corner windows, move the shower to where the windows are and connect it to a tub but it just wasn't in our budget. So, we settled for just a shower since, realistically, we wouldn't have time for baths. The most important thing was we now had a decent amount of space! You know what they say, though...sometimes you can't have it all. Overall, we were pleased with the outcome of this 2nd phase. Now that we were (mostly) done with the upstairs, it was time to beautify our basement. I hope you enjoyed this entry and make sure to stay tuned to read about our next renovation phase! ~XOXO, Mari Counter-tops & cabinetry from Evergreen Granite in Kent, WA www.evergreengranite.com/ Master bath flooring, wall tile, and sink faucets from Home Depot, Accent tile from Lowes. Shower fixture and toilet from Costco Cabinet door handles and wall mirrors from Lowes. Glass shower doors from Amazon.com Lighting from Lamps Plus in Tukwila, WA www.lampsplus.com/
1 Comment
|

Meet MariWelcome to my blog where I share my inner thoughts on life and all things I love - beauty, home decor and design, amazing food, our family travels, and fashion! Archives
March 2021
|

 RSS Feed
|
|

|