|
Our basement bathroom was, for lack of a better word, atrocious. Floral wallpaper that you might find at your grandmother's lined all four walls and were peeling at the seams. Old vinyl flooring started to chip in some areas. The laminate blue counter top, shower and musty cabinets were all dated. BEFORE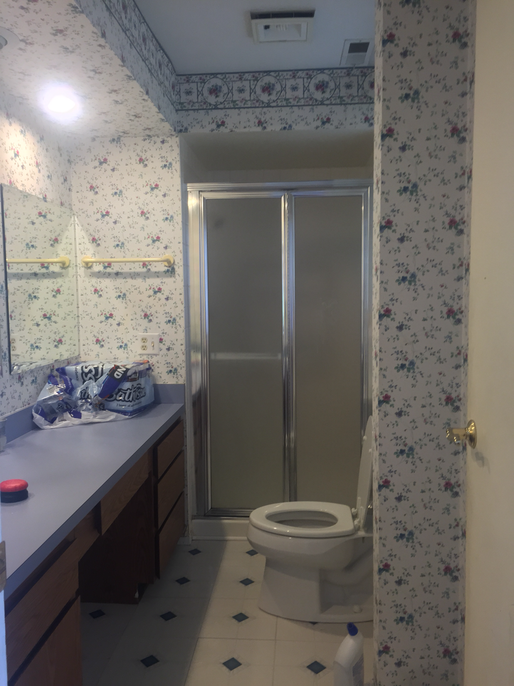 The original basement bathroom Since most of our house was redone, this had to get some lovin' as well...especially before finally opening our home to guests other than our immediate families. The laundry and garage still need to get done but those two rooms are usually off-limits so they weren't high priorities at the time. Wait til you see those rooms in a future entry! ;-) DEMOContractor: Vu Construction Like the main areas of our basement, we did a lot of it ourselves to save money but sub-contracted out for the heavy stuff. The only demo we did in that room was removing the wallpaper and cabinetry. My dad was still around and wanted to keep busy so I showed him how to remove the wallpaper. To strip the wall paper, you'll need the following... Tools needed:
Then, we made a 1 : 1 solution to help strip it off:
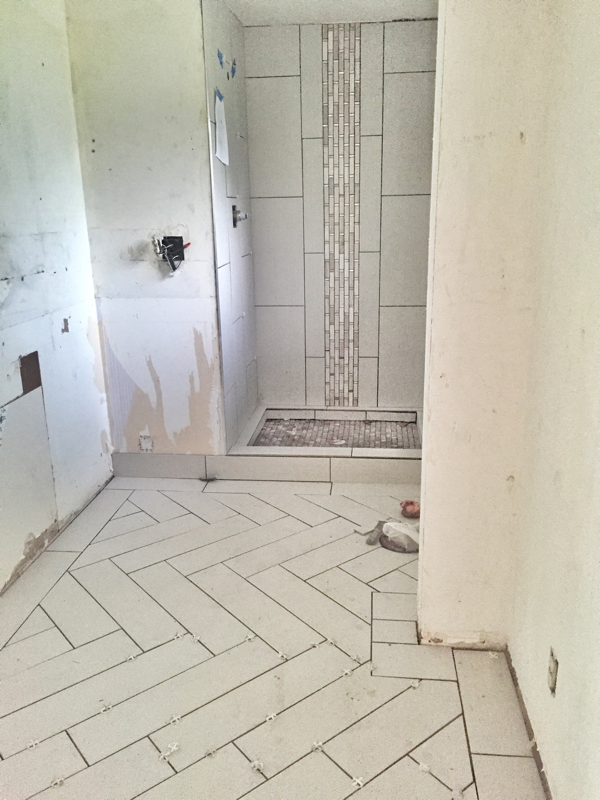
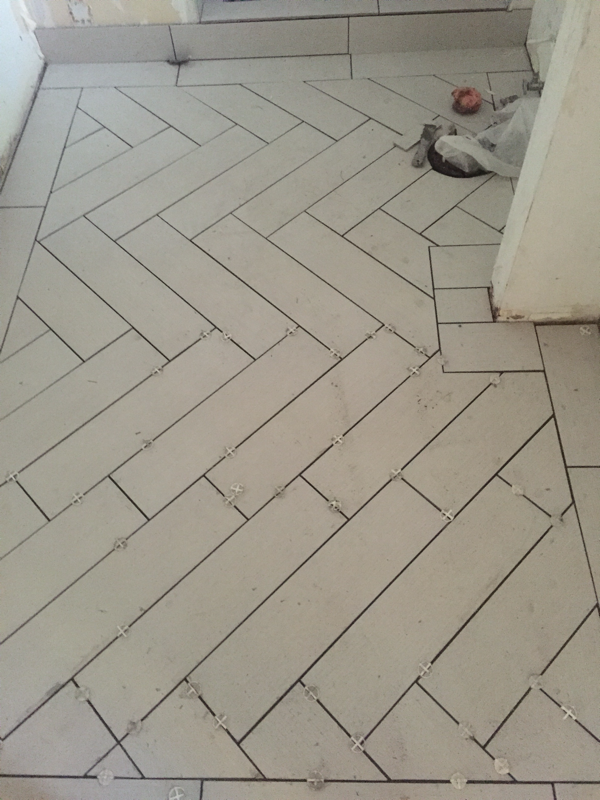
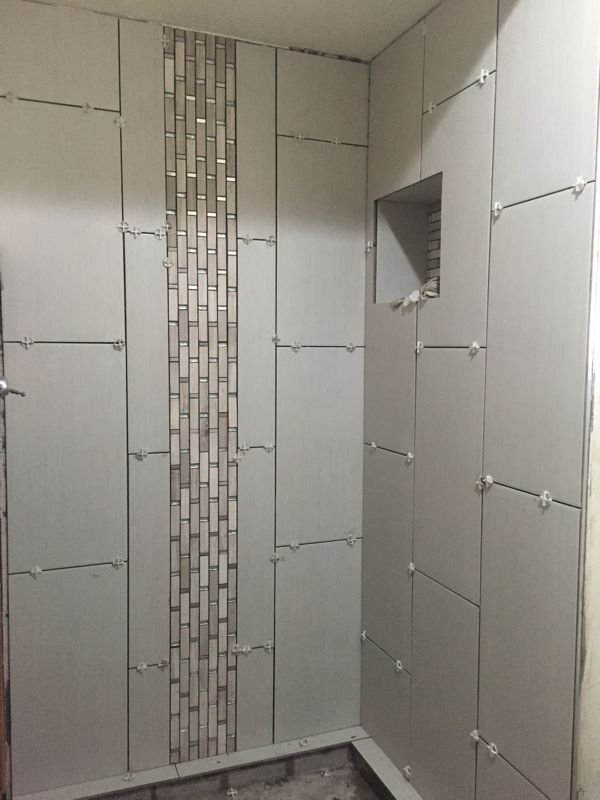
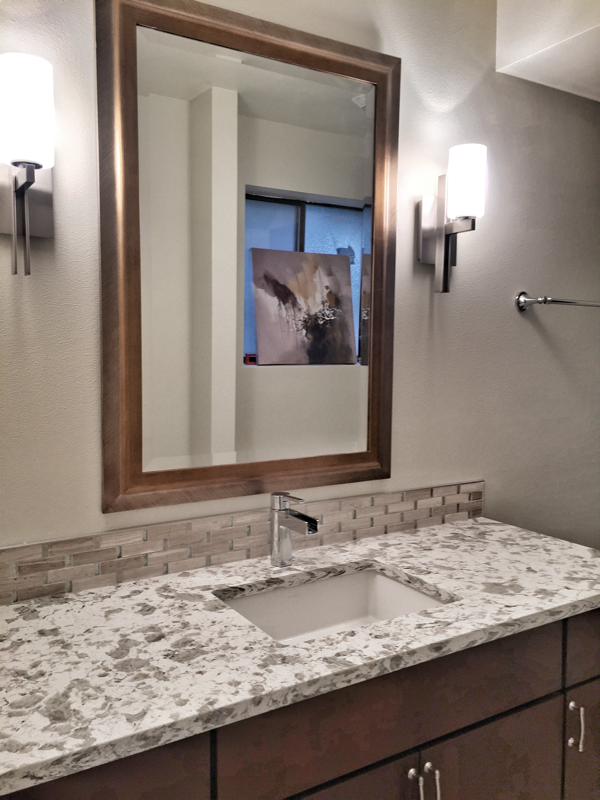
Scrape the wallpaper with the scoring tool by following its instructions to create punctures, then spritz the solution and let it saturate. Use the sponge to help spread the liquid around and seep through the holes. Wait about 10-15 minutes then rip the wallpaper off. You may need a spatula to get to the stubborn and hard-to-reach areas. When stripping the paper, we found what appeared to be mold coming through the walls. NOT GOOD. So, the contractor was notified to take care of the issue. 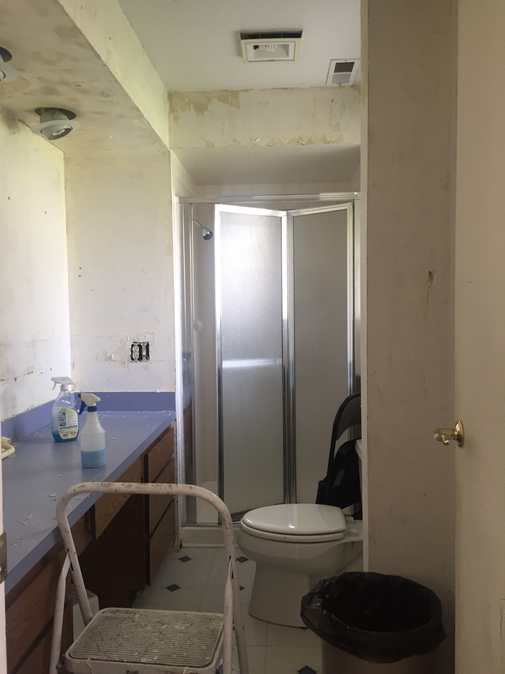 It's already looking better! INSTALLATIONWe went to Home Depot to pick up all the tile we wanted in coordinating colors. We found these new 4" strip tiles, which, I then had an "A-HA" moment...I always wanted herringbone floors so that's the pattern we went with. When telling the contractors, they had this look like, "are you freaking serious?" They didn't say that aloud but I could tell in their eyes. LOL. This was more labor intensive for them but it was worth it in the end. Looking closely at the tile, they have this subtle striated pattern but looks a bit solid with texture from afar. The mosaic wall tile in the shower have glass accents within them while the floor mosaic tile is a dark-ish marble. My husband thought for sure it would look bad... TIP for you: If you're going to mix materials, make sure there is a common element or color, and everything will tie in together at the end. Also, when choosing your materials, see them in person to touch them and compare the colors because the coloring may be "off" online. The only thing we took a chance with was the shower door, which, we bought on Amazon. We were relieved (and lucky) it fit perfectly. For the counter-top, we chose a very heavily patterned quartz. I hate to say that even I was unsure because it's on the busier side but I was pleased with the outcome. It didn't look too bad at all. Again, you can see that there are common colors between the counter top and tile back splash. 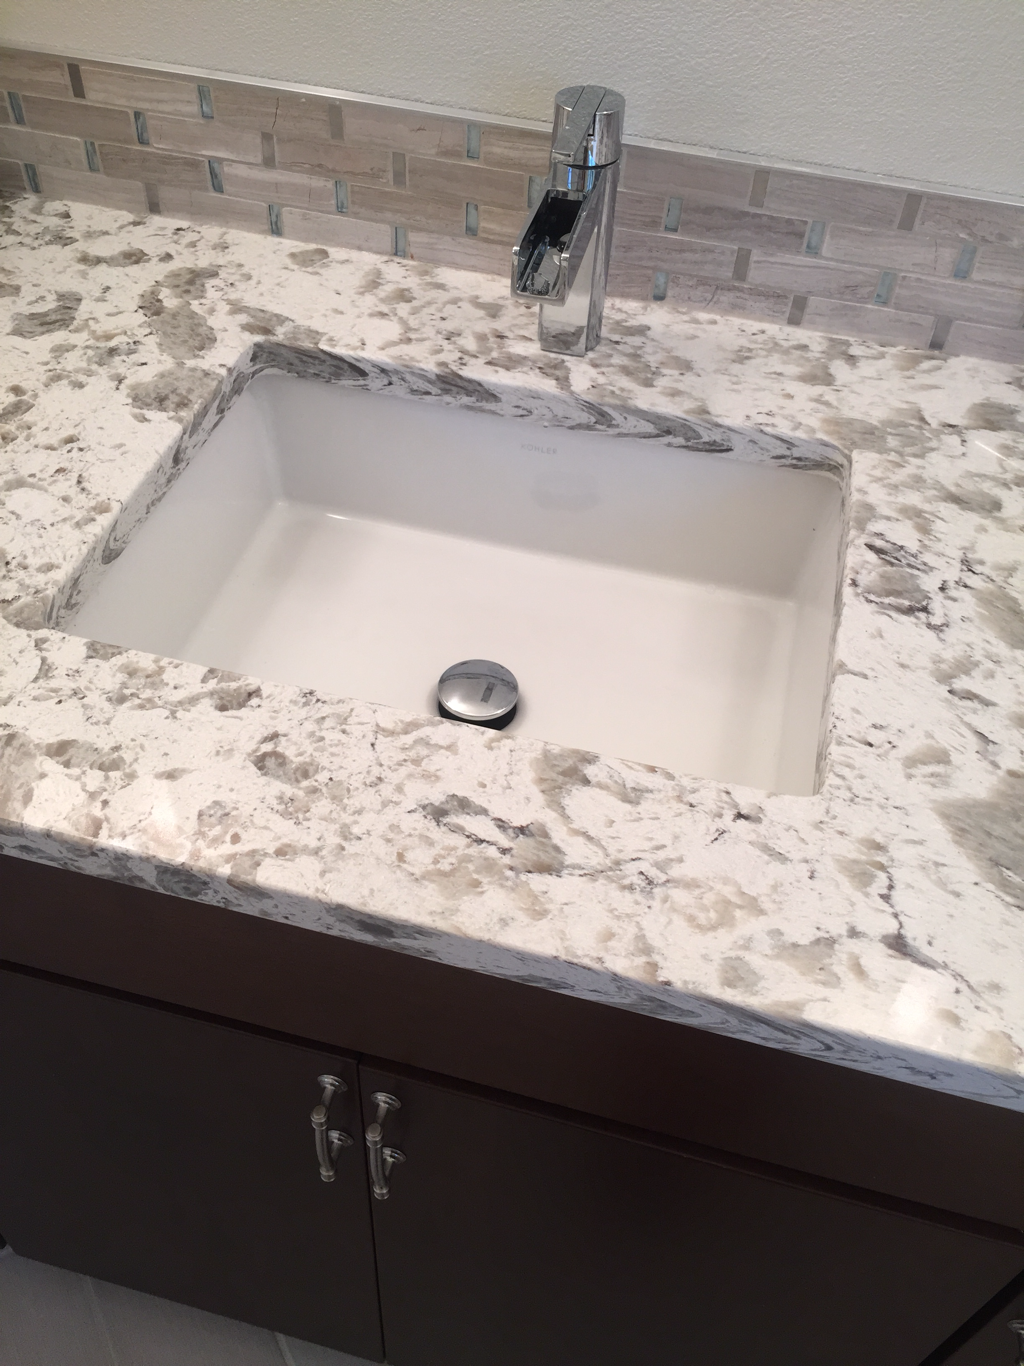 AFTERBelow is our finished bathroom. We wanted bright, open, and contemporary. I love that we were able to achieve that. Looking at it - actually, at almost everything in our home - really affirmed my ability as a designer. Still there are some things I would've done differently but, as always, I learn as I go. Everyone that has come through our home has complimented this bathroom and even some of my kids' friends say it's their fave. LOL 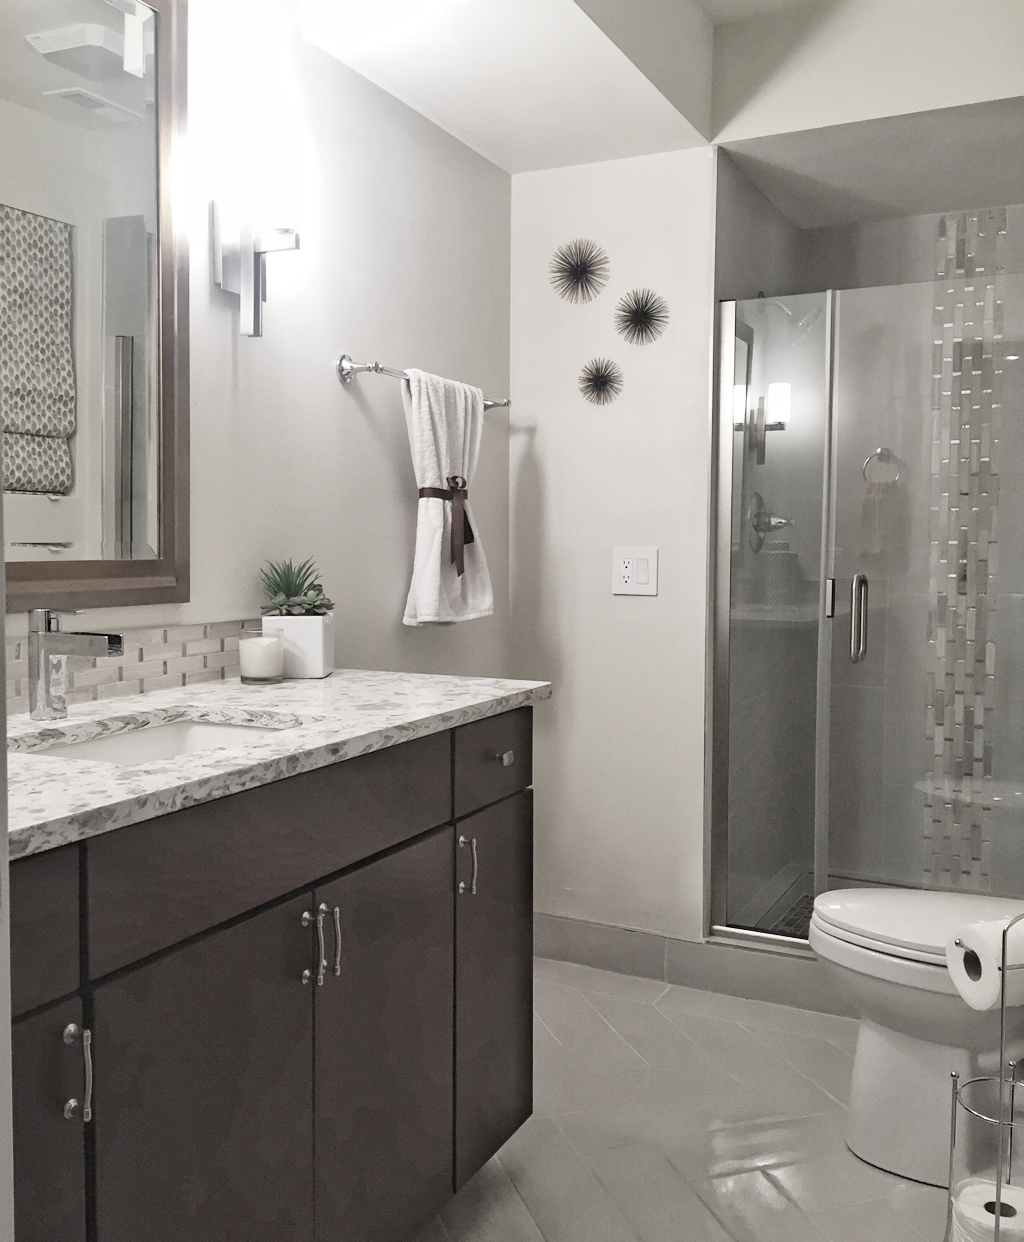 This is shorter than my previous home renovation entries but I hope you were able to get some inspiration from this blog just as much.
Our basement bathroom was completed about two years ago and we are looking to redo our laundry room next. A design concept has already been done - now we just need to secure the materials and get to work! Stay tuned for that entry! Where we got our items:
~ XOXO, Mari
0 Comments
Leave a Reply. |

Meet MariWelcome to my blog where I share my inner thoughts on life and all things I love - beauty, home decor and design, amazing food, our family travels, and fashion! Archives
March 2021
|


 RSS Feed
|
|

|