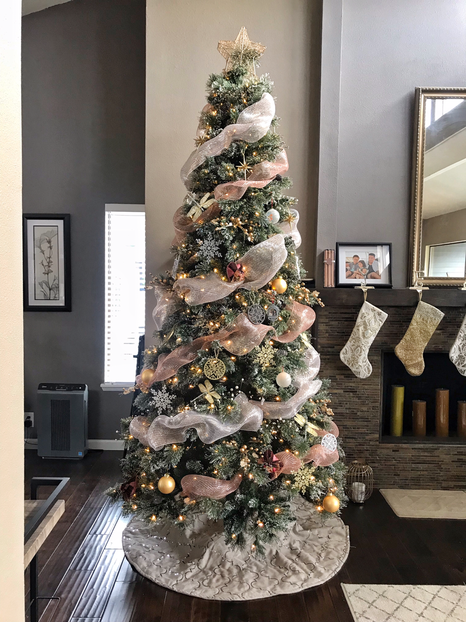
 Tran Christmas Tree 2018 It's been a tried and true Manalo-Tran family tradition to decorate the day after Thanksgiving. The reason being most of us are home from school and work. It's a great workout and a sure way to burn off calories from the night before (oh believe me, we can sweat depending on how many people are helping) and we get some family time in. We don't necessarily finish all of the decorating but putting up the tree and stockings the day after TG are a must for us so we can enjoy them just a little bit longer. Throughout the day/week, I start to slowly incorporate holiday decor, listen to Christmas music, and watch cheesy and heartwarming Christmas movies. Please NOTE that the tips I give here are meant more for artificial trees. Natural trees may be a little more fragile (and it's been a while since I've decorated a real tree - like 25 years or so) but, if I ever do one again, I'll definitely write about that! :-) After our Christmas tree is all decorated, I'll post a photo and I'll get requests to go over people's homes and decorate their trees! This inspired me to write a little something to help any of you that may be stuck in a rut or don't know where to begin. Our style is more on the glam side but I love all different types - Scandinavian, traditional, farmhouse, etc. No matter what your style, you can incorporate some of my pointers into your holiday decorating. Also, feel free to omit anything that doesn't quite go with your design aesthetic - the point is to have fun with it and not to think so hard! So, if you need some inspiration, check out my tips on how we trim our tree (I've also included some tips and info on where to shop)! 1. Fluffing
2. Wire Ribbon and/or MeshSince our tree is pre-lit, we usually start out dressing it with wire ribbon or mesh. Otherwise, if it were a real or faux tree with NO lights, I would add a bunch of string lights first. I've heard the rule of 100 lights per foot but I'd be worried about the fire hazard that could cause. IMHO (this means "in my honest opinion" for you acronym newbies) I'd save this rule for the bottom 1/3 of the tree since it needs more lights than the middle and top sections. For the ribbon or mesh, you can play with the placement any way you like. This year, I took mesh around the tree by spiraling downwards and used two different colors. You can also cut in 3-4' strips and tuck them randomly on the tree and either go vertically or diagonally - be careful placing horizontally as this could make the tree look squat or cut off from other sections. My trick for the ribbon/mesh is to loosely tuck approximately every 8-10" into the tree because it looks flowy as opposed to forced. I like wire ribbon because it does what I want it to and I don't worry about it easily slipping off the branches. With mesh (I like to use either the 6" or 12" spools) - the material sticks to the bristles easily so you don't have to worry too much on working to attach it. 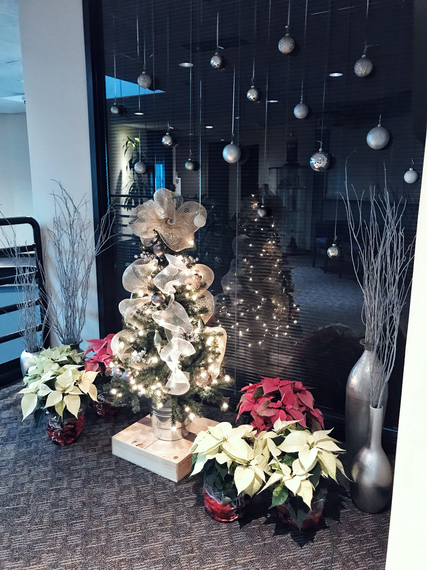 A company mini-tree I worked on 3. Interesting ShapesOne thing I notice with some people is that they only stick to ball ornaments of the same size and they get A LOT of them, too! This can get boring fast and, frankly, doesn't give your tree much character nor does it showcase your personality or that of your family's. Look for shapes out of the ordinary and, when you like something - grab 4-5 of those shapes. You don't need a ton of ornaments, just a few special sets and you're good to go. Although, I will say it is pretty when your tree's full of ornaments but, keep in mind, what you put up will eventually have to come down! Think ahead and ask yourself if you're okay with that! Going back to special shapes, I have these starburst spherical ornaments that I found one day about 15 years ago and they're still some of my favorites. Even though they're round like the typical ball ornaments, their spikes give it that extra "oomph." In addition to these we have eggs, hedgehogs, dragonflies, snowflakes, north stars, etc. You can even do homemade ornaments, picture ornaments - the choices are endless! 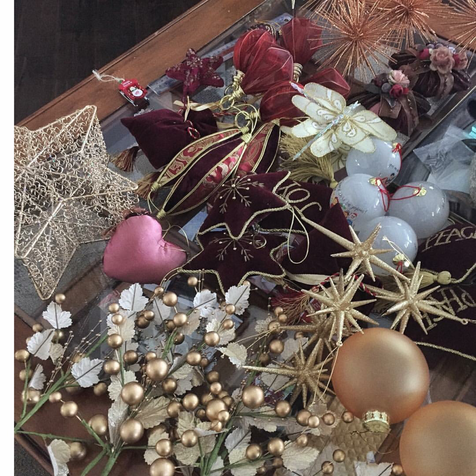 Our ornaments - most have something unique about them...even the round ones! HOT Tip: Some of you may already know this but, if you ever run out of ornament hangers/hooks, you can use paper clips! Most likely you already have them in a home office or, if not, just head to your local store and pick some up - they're inexpensive to buy! 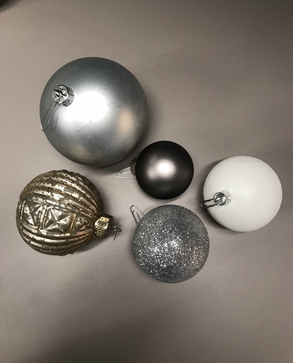 Paperclipped 4. Space elements outSpacing like-colors or like-items is one of the keys to achieving a well-balanced tree or design. Even colors that aren't quite the same in color but are in the same color family would look better spaced out. This can sometimes be hard if you have a lot of the same colors...just do the best you can. If you find it difficult - no biggie - just move on! You can achieve this concept if you imagine an invisible triangle throughout several areas of your tree. You can place ornaments at imaginary points of your triangle. Or you can think of it this way...place colors and/or items at different levels throughout the tree (e.g. some items go higher up while other ones are placed lower). 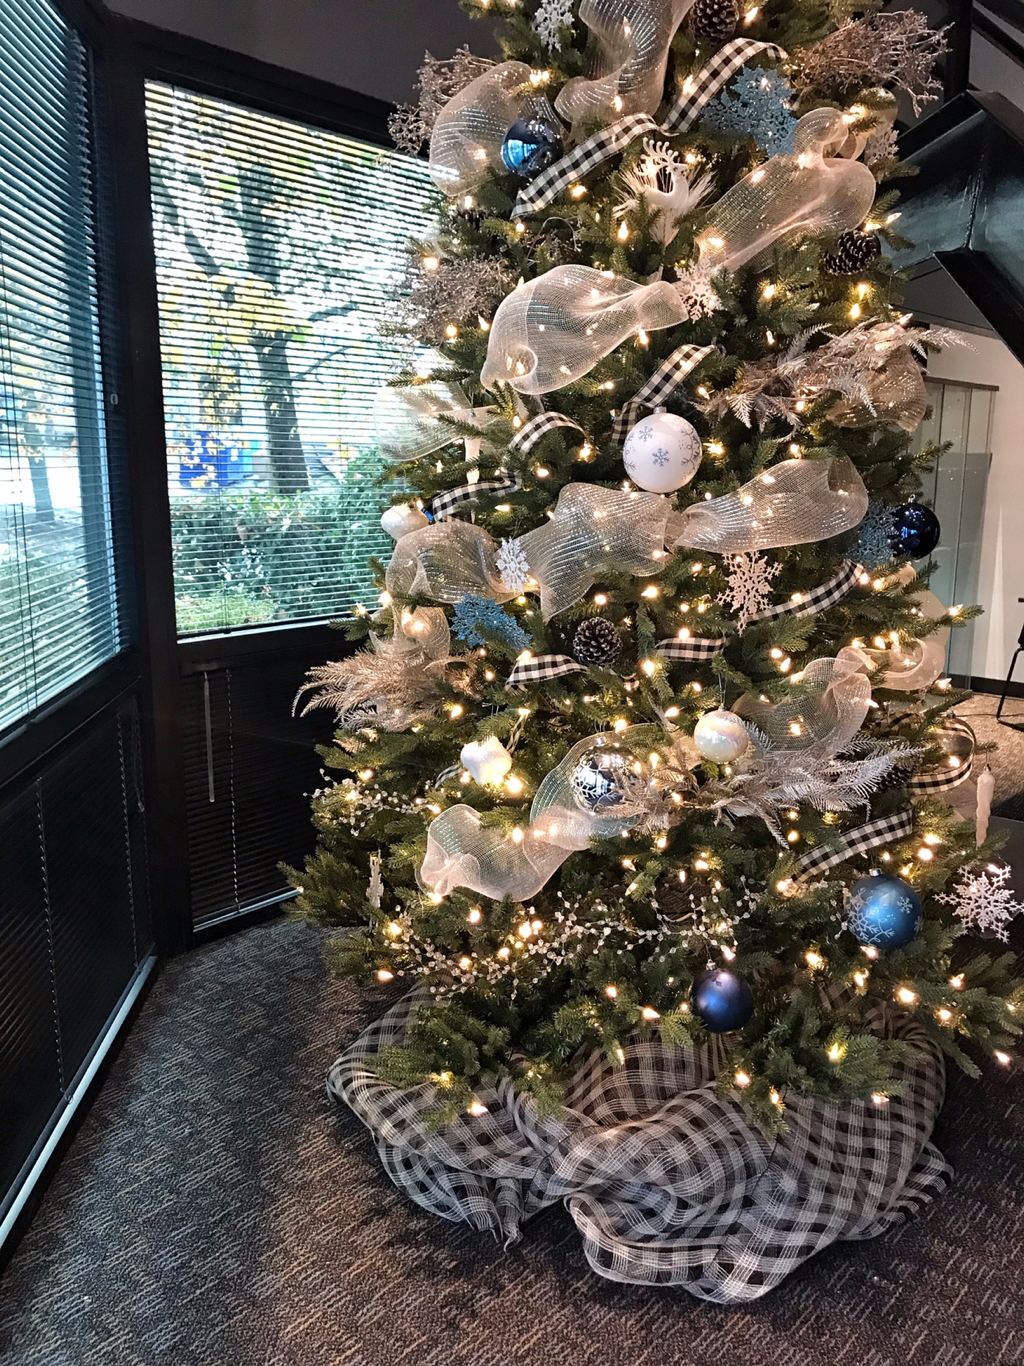 Space items out as best as you can. 5. Size VarietyTo vary the sizing of the ornaments or pieces that will go on the tree will add to its character. There are some rules that some generally go by (i.e. the largest pieces go towards the bottom and the smaller ones towards the top). I think you can definitely place bigger ornaments higher if there's, again, balance. I do, however, like to follow the rule that smaller goes on top only because of how the tree tapers and bigger ornaments will overpower the area. Also, I generally tend to get more medium and large-sized ornaments because the smaller ones tend to get lost in the tree so I'll usually save the really small ones (like ping-pong sizes) as fillers for a vase or even attached to a wreath or garland. 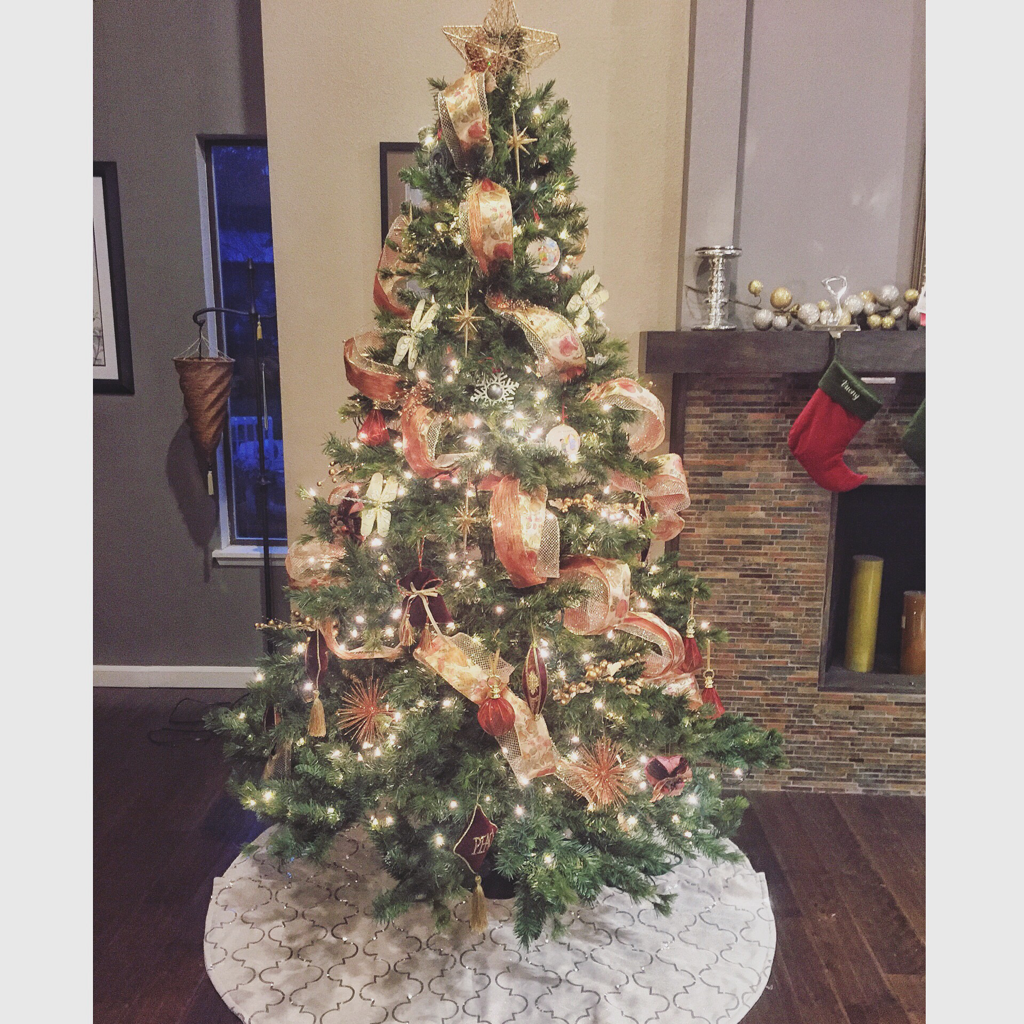 6. FillersFillers are what really dress up the tree, in my opinion. This is what I use to really give any tree I decorate that certain je n'ais se quoi - y'all know what I'm talking about - it sets your tree apart from others out there. Most of these fillers come in the form of "picks" which you can find at any craft store or a place selling specialized Christmas decor (I even found bundles at hardware stores in the holiday section)! I like to use branches, artificial berries, gilded ferns, pine cones, etc. I've seen feathers, animal shapes, candy canes, poinsettia blooms, etc. There are so many different types that I'm sure you'll find something you fancy. Like the special shaped ornaments, you'd want to pick up a few at a time...for bigger ones, pick up 4-5 pieces; for medium-sized ones, pick up 6-8 pieces; for smaller ones, maybe 9-10 pieces. You insert them randomly around the tree where there are more open spaces or anywhere that needs a little something extra. Space them out from one another so that one section isn't overloaded while another area of the tree looks bare. 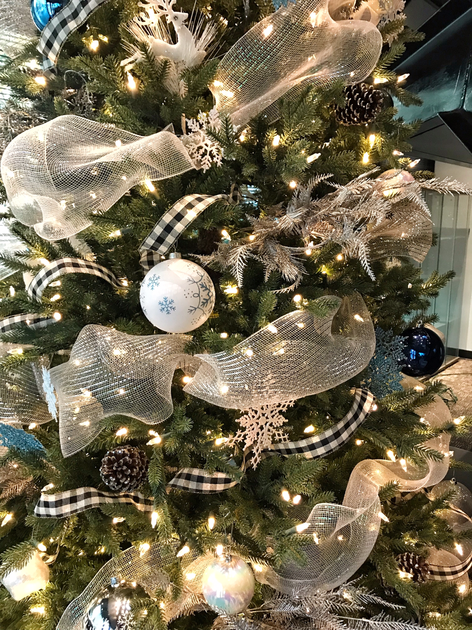 Can you spot all the fillers?! Some aren't as obvious... 7. Skirt and TopperFinishing off the tree, you don’t have to go traditional. You can do a blanket and wrap it around the base, use a bucket or planter, or even a whole roll of 2' wide mesh! HOT Tip: Add a bunch of crinkled tissue paper under the tree skirt to beef it up so it’s not so flat. With toppers, they can get pretty expensive depending on what you want. They can also be ill-fitting. I have one that doesn’t quite fit the tip of any tree I’ve bought so that kind of sucks! To mitigate the issue I use a basket, picks or mesh. See the photos below... if you’re wondering why I use a basket, it’s because the opening is so big and it sits atop the tree perfectly. Keep in mind you’ve got to take in consideration its scale and shape. Mine is star-shaped and on the smaller side so it’s perfect for our tree. Where to SHOP I've gotten our ornaments at many different stores throughout the years. There are some areas that you can spend more or less depending on which item. I do believe that trees should be an investment - not necessarily something that breaks the bank, but something that'll last 10 years or more. You can tell the difference in the bristles and how sturdy its construction is. As for ornaments, you can save. Glass ornaments, however, are best when they're thicker (in my opinion), otherwise the glass will be brittle. I've had the best of both low and high end glass pieces and I've already broken a bunch of the cheaper ones while my more quality pieces are standing the test of time. For picks, you can go either way but I've found some at a steal at discount places. The following places are where you can go and get your decor pieces:
Of course there are always DIY ornaments - these are fun for the kids or for those wanting to save a lot more...wood crafts, cookie ornaments, paper/paper/popcorn garlands, photo ornaments, etc.! There are countless craft ideas - let your imaginations run wild! Christmas Scenes throughout the YearsHopefully, these tips were helpful to you and that you're confident in trimming your tree(s) this year! Tag me on instagram @mari_tran78 to share your beautiful trees with me!
~XOXO, Mari
0 Comments
Leave a Reply. |

Meet MariWelcome to my blog where I share my inner thoughts on life and all things I love - beauty, home decor and design, amazing food, our family travels, and fashion! Archives
March 2021
|

 RSS Feed
|
|

|