|
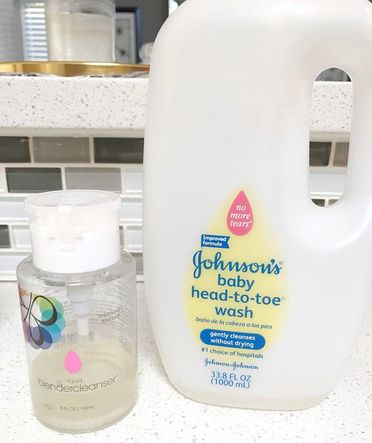
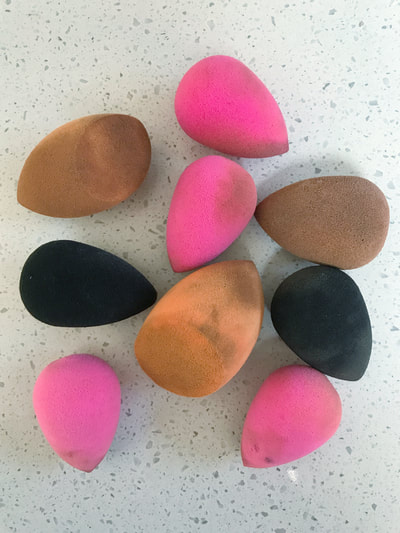
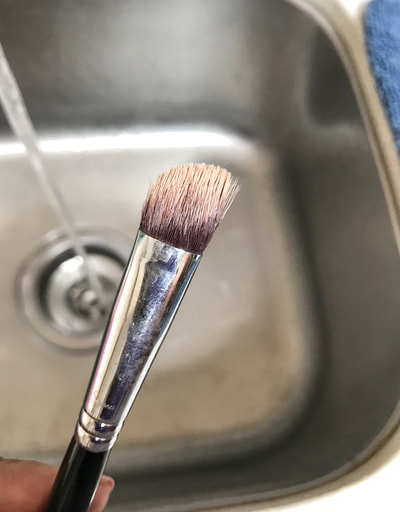
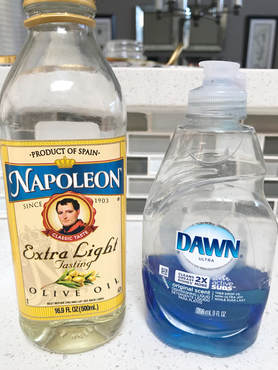
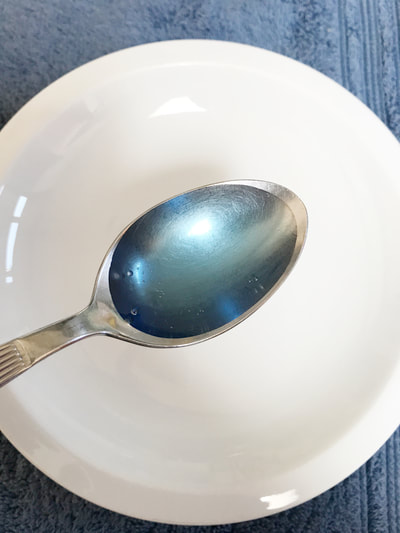
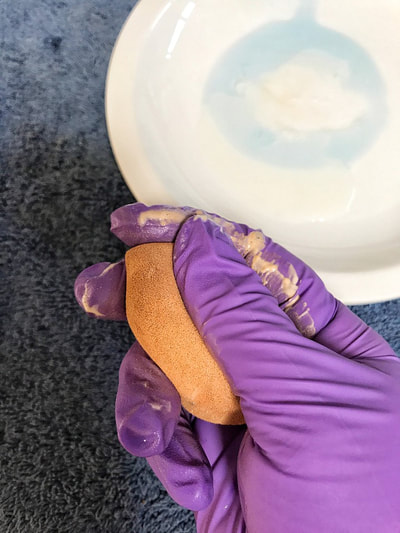
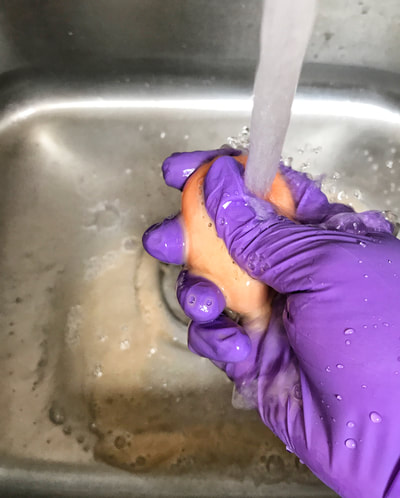
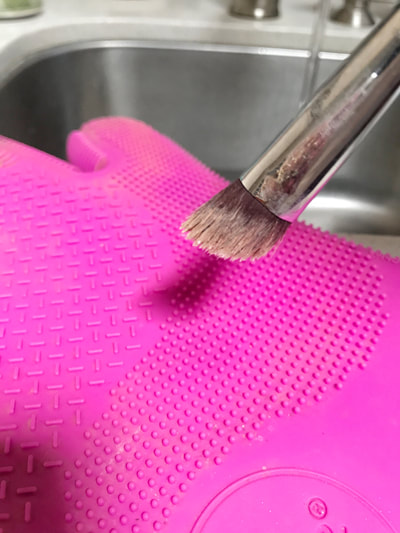
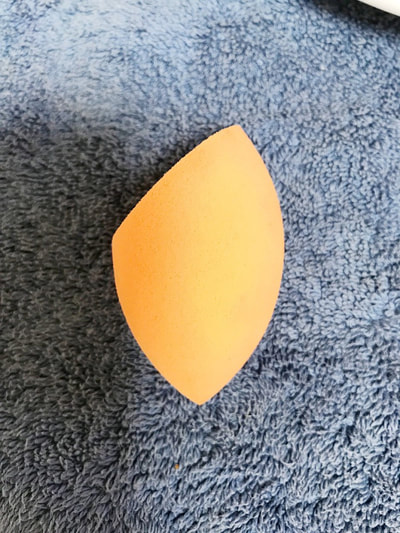
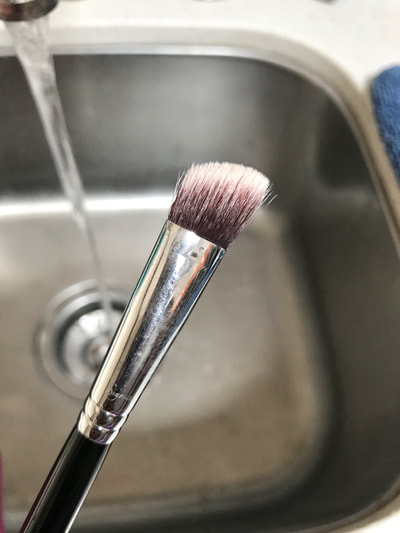
As a makeup artist, I have my fair share of dirty brushes and beauty blenders. - let me tell ya...I have a lot of them!!! So, needless to say, deep cleaning my tools between clients can be daunting and painstaking. Over the years, I've learned some tips along the way to help my task run smoother. But you know what? You don't have to be a makeup artist to perform this task - one should clean their own personal set of brushes on a regular basis...at least once a week...although, I have been known to go without washes for a couple weeks. Ack. For sure, I do NOT skip this task of deep cleansing when it comes to client brushes. Cleanliness is key. When I deep clean the brushes, I clean multiple brushes simultaneously with either my beauty blender cleanser or baby shampoo along with lukewarm water. I rub these on a Sigma glove (you'll see a snippet of it somewhere down below) to help with the process (go to www.sigmabeauty.com and you'll find these cool gadgets in their Brush Care section). You can use your hands but I don't because I have dry skin. After rinsing, I lay my brushes flat on a clean towel. If you store them upright, the water will ruin the ferrules (this is the metal or plastic piece connecting the brush hairs to the handle). You'll risk these pieces rusting or even cause loosening of the brush hairs. By laying them sideways, you alleviate these issues. Now for the really dirty brushes and sponges...these are the ones where your usual cleansers just won't do. See my examples below: All you need are some common household items: a plate, measuring spoons, extra virgin olive oil, and mild dish washing liquid. You can use pure olive oil but I like the extra virgin because it's thinner in consistency and doesn't leave any of the oily residue on the bristles, if done properly. QUICK TIP: If you have really dry hands like me, I recommend using latex/latex-free gloves to protect your skin. Usually I start by wetting the brush or sponge with warm water. If you have a beauty blender, soak until it expands then sqeeze excess if it isn't damp already. I follow a 3 : 1 ratio (3 tbsp of dish soap to 1 tbsp of oil). Just know that if you have more than the recommended amount of oil in the mixture, it will leave an oily residue on your items when dry...and you don't want that. Because I do it often, I usually eyeball my measurements based on the amount of brushes or sponges I need to clean. When ready, roll the brush or sponge into the concoction and coat the surface with a nice, thin layer and start scrubbing (for brushes) or rubbing (for sponges), working the formula in. It shouldn't take too long...I'd estimate about 15-30 seconds each depending on how badly soiled your tools are. You may need to repeat the steps a couple more times but I don't find that to be an issue. When finished, they should look a little bit like this.... Just like new, right?! Generally, you'd want to clean your brushes/sponges once a week (okay, okay, sometimes I go two weeks - I'm busy alright)! Sebum, oil, sweat, and dirt left on them can cause skin issues so try to be consistent in cleaning your tools. Not only will you be good to your skin but your tools will last longer. I've had brushes for over 5 years and they're still as good as when I first bought them. Of course, for makeup artists, you should deep clean between jobs.
I hope you're able to find this information helpful. Try this on your brushes/sponges and let me know how you like it! ~XOXO, Mari
0 Comments
Leave a Reply. |
Meet MariWelcome to my blog where I share my inner thoughts on life and all things I love - beauty, home decor and design, amazing food, our family travels, and fashion! Archives
February 2021
|



 RSS Feed
